Objects 간 소통하는 방식에 몇 가지 방식이 있는데, 그 중 하나가 Notification과 Observer입니다.
Notification과 Observer는 1 : N 관계에서 주로 사용하는 방식입니다.
하나의 객체가 신호를 보내고, 그 객체의 신호를 대기 하고 있던 다른 객체들이 신호를 듣고(listen) 일종의 액션을 취하게 됩니다.
보내는 신호를 "notification" 이라고하며, 신호를 보내는 행위를 "post" 또는 "publish" 라고 합니다.
신호를 받는 객체들은 "observers"라고 하고, 신호를 받는 행위를 "subscribe"라고 합니다.
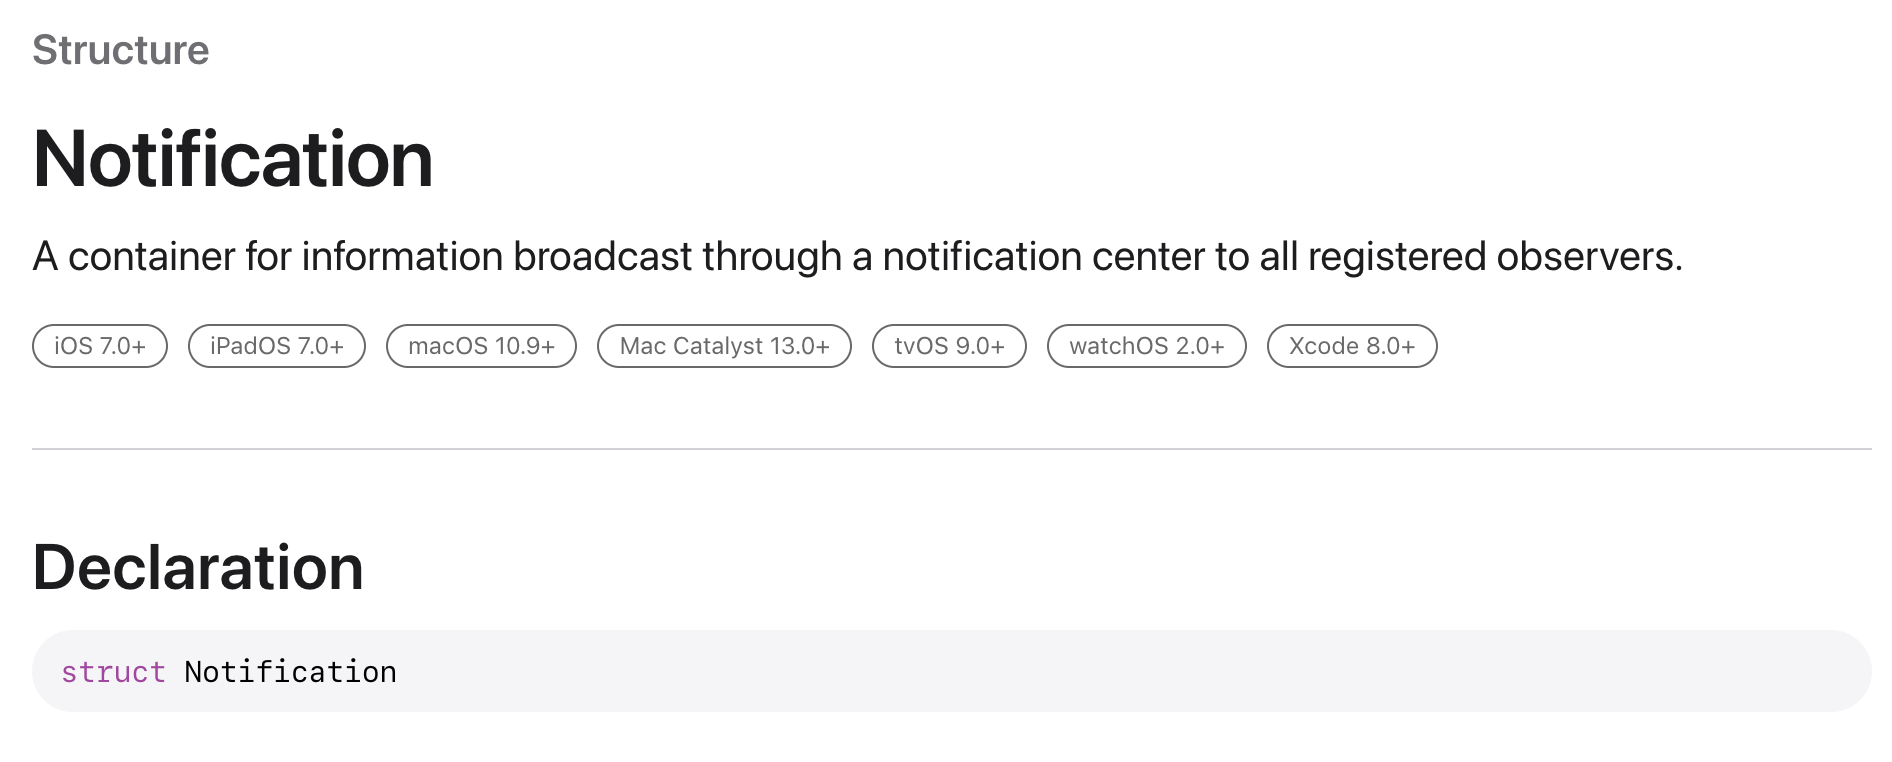
애플 문서에는 Notification이 어떻게 기술되어 있는지 확인해보겠습니다.

"Notification center를 통해서 observer들에게 공지될 정보들을 담은 컨테이너" 라고 정의되어 있습니다. Notification에 정보들이 담기나 봅니다! 그렇다면 Notification center(NC)는 또 뭘까요?

NotificationCenter란 "Notification을 보내는 방식으로, 등록된 observer들에게 정보를 공지한다." 라고 되어 있습니다. Notification을 post 한다는 것은 NC로 post하는 것입니다. NC를 이용해서 observer들도 등록하거나 삭제할 수 있습니다.
즉, Notification에 정보들을 담고 NotificationCenter를 이용해 정보를 공지한다고 보면 되겠습니다.
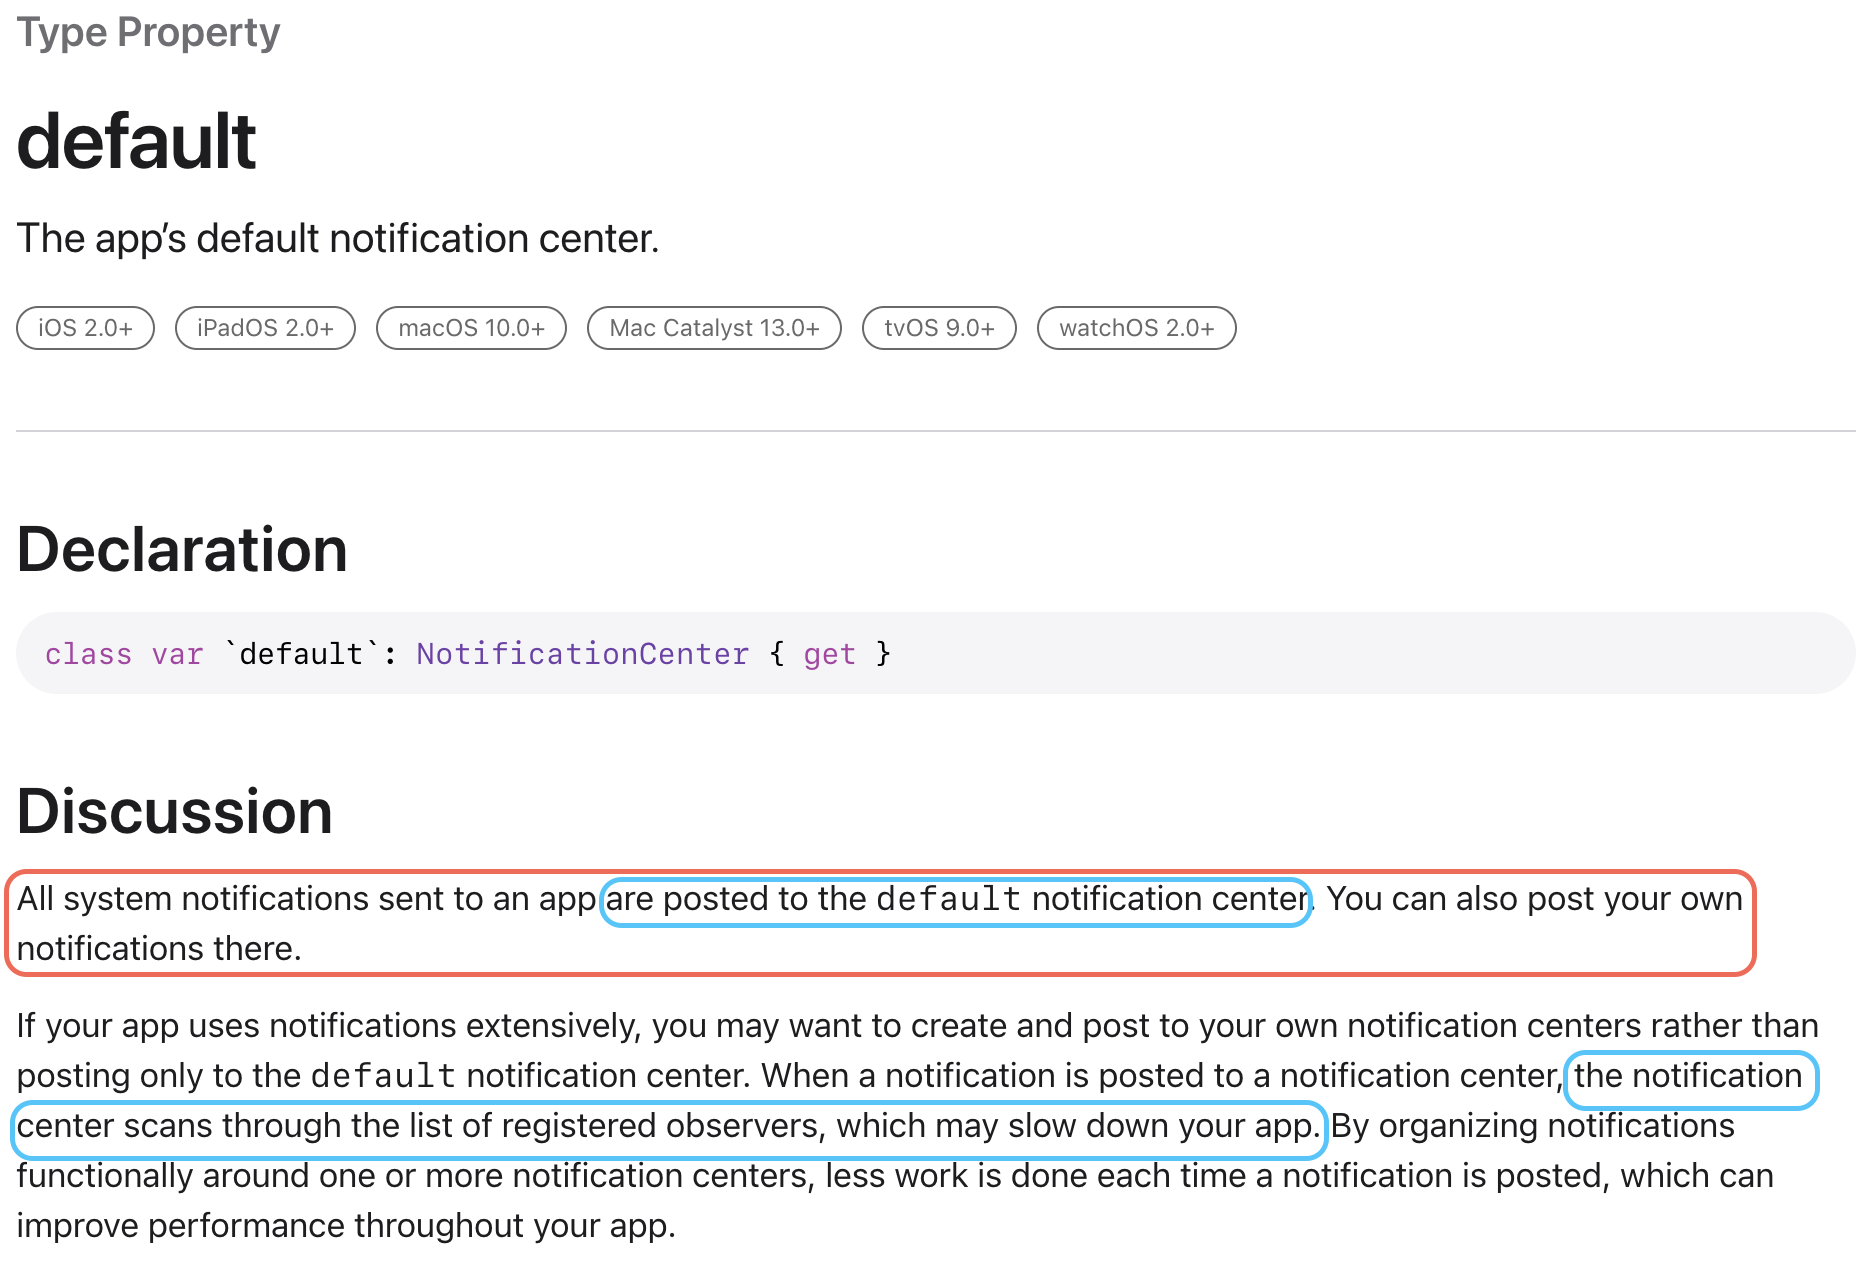
NC의 설명에 "default" notification center가 있다고 하여서 한 번 살펴보도록 하겠습니다.

Apple의 default notification center가 바로 default입니다. 시스템 notification이 post되고, 개발자도 자신이 만든 notification을 post할 수가 있습니다. (다만, notification이 post될 때 NC는 등록된 observer 리스트를 모두 스캔하게되고, 그로인해 앱의 속도가 저하될 수 있으니, custom NC를 만들어서 적절히 나누어 사용하면 앱 성능을 최적화할 수 있다고 합니다.)
지금까지 살펴 본 내용을 한 줄로 요약하자면,
Notification에는 공지할 정보를 담고, NotificationCenter를 통해서 notification들을 공지할 수 있으며, apple은 default라는 이름의 NC를 기본적으로 사용한다 라고 할 수 있겠습니다.
그렇다면 어떻게 사용하는지 코드를 몇가지 알아보겠습니다.
UITabBarController를 사용해서 특정 버튼을 누르면 TabBarController에 등록된 모든 view들의 배경색이 하얀색으로 바뀌도록 하겠습니다.
먼저 TabBar에서 가장 좌측에 있는 첫번째 VC에 notification을 줄 버튼을 만들고, notification을 post 하겠습니다.
class FirstVC: UIViewController {

    private let button: UIButton = {
       let button = UIButton()
        button.setTitle("Notification Button", for: .normal)
        button.backgroundColor = .yellow
        button.setTitleColor(.black, for: .normal)

        //notify method를 selector로 설정
        button.addTarget(self, action: #selector(notify), for: .touchUpInside)

        return button
    }()

    //... 중략 ...

    //notify() 내부에서 notification을 default NC에 post함
    @objc func notify() {
        NotificationCenter.default.post(name: Notification.Name("changeColor"), object: nil)
        view.backgroundColor = .white
    }
}
그리고 다른 VC들은 observers로 등록해주어 notification을 받으면 root view의 backgroundcolor를 바꾸도록 설정해줍니다.
class SecondVC: UIViewController {
    override func viewDidLoad() {
        super.viewDidLoad()
        view.backgroundColor = .systemGray
        print("SecondVC loaded")

        //viewDidLoad에서 observer로 등록해줍니다.
        NotificationCenter.default.addObserver(self, selector: #selector(notificationReceived), name:  Notification.Name("changeColor"), object: nil)
    }

    //notification을 받았을 때의 행위를 함수로 정의해줍니다.
    @objc func notificationReceived() {
        view.backgroundColor = .white
    }

}

// 세번째 VC도 위와 동일한 작업을 해줍니다.
class ThirdVC: UIViewController {
    override func viewDidLoad() {
        super.viewDidLoad()
        view.backgroundColor = .systemPink
        print("ThirdVC loaded")
        NotificationCenter.default.addObserver(self, selector: #selector(notificationReceived), name:  Notification.Name("changeColor"), object: nil)
    }

    @objc func notificationReceived() {
        view.backgroundColor = .white
    }

}
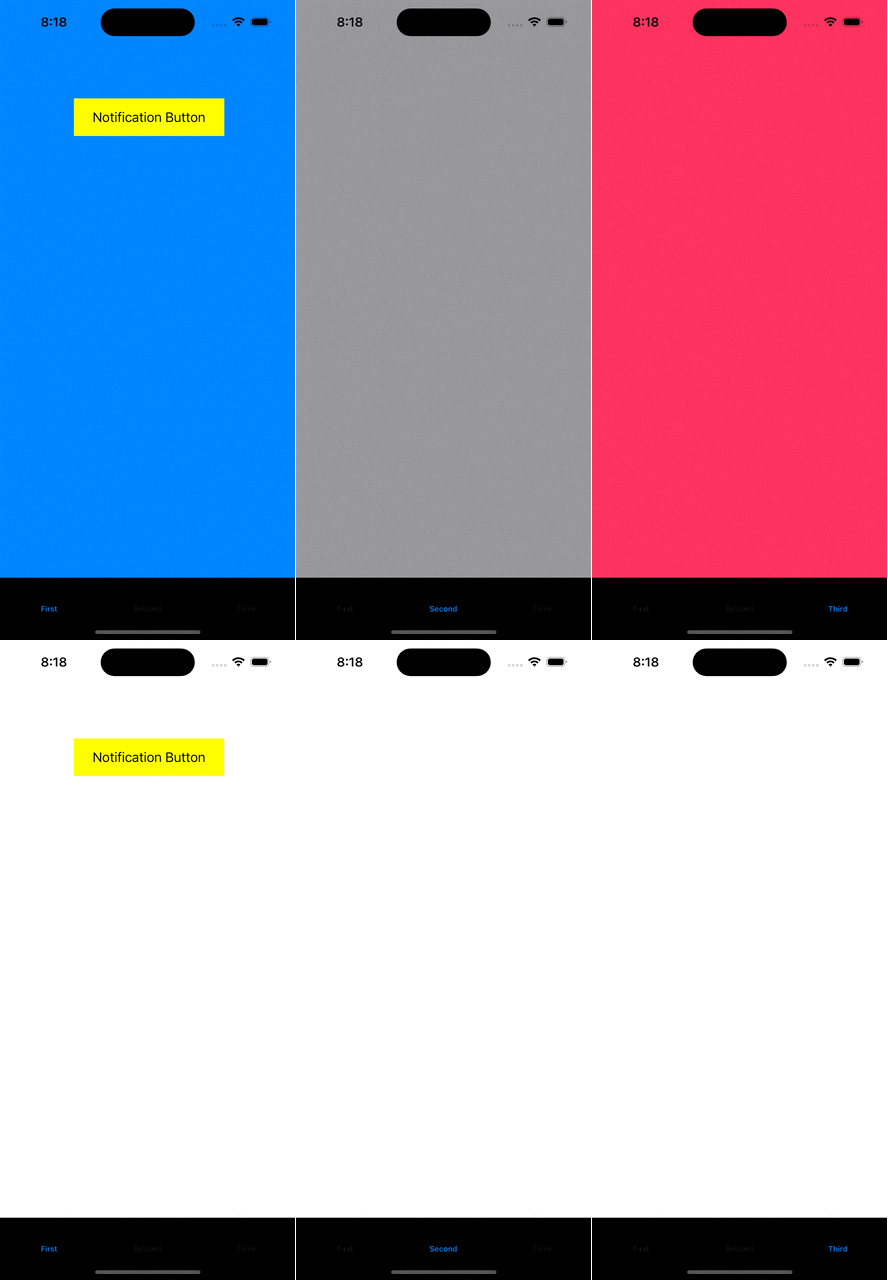
결과화면

FirstVC의 Notification Button을 누르기 전에는 모든 VC들이 다른 배경색을 가지고 있었지만, 버튼을 누른 다음에는 하얀색으로 변경된 것을 확인할 수 있습니다.
🏷 이번 연습을 통해서 알게된 사실:
TabBar를 사용할 때, 모든 VC의 root view가 동시에 load되지 않는다는 것을 알았습니다.
그리고 notification은 view가 load된 VC만 받을 수 있다는 것도 알게되었습니다.
그래서 TabBarController에 등록된 모든 view들이 동시에 load되도록 하는 방식을 stackoverflow에서 참고하여 적용했습니다.
하지만, 이렇게 했을 때 앱이 무거울 수록 성능이 좀 저하되지 않을까 하는 생각은 듭니다.
Notification을 사용할 때는 view load가 보장(?)된 상태에서만 사용되도록 해야겠다는 생각을 하게되었습니다.
Notification & Observer pattern은 로그인 기능에서 주로 사용된다고 합니다.
유저가 로그인하였을 때, 다른 ViewController들에게도 로그인이 되었다고 알려줘서 적절한 정보를 불러오게끔 하는 것입니다.
필요한 내용이 있다면 조금 더 추가하도록 하겠습니다 :)
감사합니다.
참고자료
https://developer.apple.com/documentation/foundation/notificationcenter
Apple Developer Documentation
developer.apple.com
https://www.youtube.com/watch?v=Kr3G9C22_-Q
https://hururuek-chapchap.tistory.com/147
PlayGround) Notification을 이용해서 데이터를 전송하자!
안녕하세요 후르륵짭짭 입니다! 이번에는 Notification에 대해 알아보려고 합니다!! Notification은 말 그대로 알려주는 것을 의미합니다. 이전에 Delegate로 ViewController 간의 통신을 하게 만들었는데, 그
hururuek-chapchap.tistory.com
여러 VC 한번에 Load하기
How to load all views in UITabBarController?
I have not found relevant and up to date answers in the posts related to this question. I would like to load all viewcontrollers on launch. Currently it launches as expected but when I tap on a ba...
stackoverflow.com